Phi-3 Visionは、Microsoftが開発した無料で使えるマルチモーダルSLM(小規模言語モデル)です。
画像からテキストを読み取ることができ、Phi-3 Visionを使えばOCRを簡単に作ることができます。
この記事では、Phi-3 Visionの使い方を分かりやすく解説します。
Phi-3 Visionとは
Phi-3 Visionは、Microsoftが開発したオープンソースのSLM(小規模言語モデル)です。
Phi-3 Visionを使えば、名刺情報や契約書類の画像データからテキストを抽出するようなOCRが簡単に作れます。
- 同等以上のサイズのモデルと比較して性能が高い
- 画像とテキストを入力して、テキストを生成することができる
- モデルをダウンロードして、ローカル環境でも実行が可能
Phi-3の詳細は、以下の記事で解説しています。
Phi-3 Visionの使い方
Phi-3 Visionを使ったテキスト生成について解説していきます。
実行環境
この記事で用意した実行環境は以下のとおりです。
- GPU:NVIDIA A100 80GB
- GPUメモリ(VRAM):80GB
- OS :Ubuntu 22.04
- Docker
Dockerで環境構築
Dockerを使用してPhi-3 Visionの環境構築をします
Dockerの使い方は以下の記事をご覧ください。

コンテナにインストールするパッケージは以下のとおりです。
CUDA、PyTorch、Transformersはバージョン依存関係によるエラーが起きやすいので、動作検証済のバージョン指定してインストールしています。
- CUDA:12.1
- Python:3.10
- PyTorch:2.2.2
- transformers:4.41.2
- packaging
- accelerate
- Pillow
- Requests
- wheel
- flash-attn
Ubuntuのコマンドラインで、Dockerfileを作成します。
mkdir phi3_vision
cd phi3_vision
nano Dockerfile
Dockerfileに以下の記述を貼り付けます。
# ベースイメージ(CUDA)の指定
FROM nvidia/cuda:12.1.0-cudnn8-devel-ubuntu22.04

# 必要なパッケージをインストール
RUN apt-get update && apt-get install -y python3-pip python3-venv git nano

# 作業ディレクトリを設定
WORKDIR /app

# アプリケーションコードをコピー
COPY . /app

# Python仮想環境の作成
RUN python3 -m venv /app/.venv

# 仮想環境をアクティベートするコマンドを.bashrcに追加
RUN echo "source /app/.venv/bin/activate" >> /root/.bashrc

# JupyterLabのインストール
RUN /app/.venv/bin/pip install Jupyter jupyterlab

# PyTorchのインストール
RUN /app/.venv/bin/pip install torch==2.2.2 torchvision==0.17.2 torchaudio==2.2.2 --index-url https://download.pytorch.org/whl/cu121

# Transformer関連のインストール
RUN /app/.venv/bin/pip install transformers==4.41.2 \
    packaging \
    accelerate \
    Pillow \
    Requests \
    wheel

# Flash attentionをインストール
RUN /app/.venv/bin/pip install flash-attn --no-build-isolation

# コンテナの起動時にbashを実行
CMD ["/bin/bash"]docker-compose.ymlでDockerコンテナの設定をします。
docker-compose.ymlのYAMLファイルを作成して開きます。
nano docker-compose.yml以下のコードをコピーして、YAMLファイルに貼り付けます。
services:
  phi3_vision:
    build:
      context: .
      dockerfile: Dockerfile
    image: phi3_vision
    runtime: nvidia
    container_name: phi3_vision
    ports:
      - "8888:8888"
    volumes:
      - .:/app/phi3_vision
    deploy:
      resources:
        reservations:
          devices:
            - driver: nvidia
              count: 1
              capabilities: [gpu]
    command: >
bash -c '/app/.venv/bin/jupyter lab --ip="*" --port=8888 --NotebookApp.token="" --NotebookApp.password="" --no-browser --allow-root'Dockerfileからビルドしてコンテナを起動します。
docker compose up
Dockerの起動後にブラウザの検索窓に”localhost:8888″を入力すると、Jupyter Labをブラウザで表示できます。
localhost:8888Phi-3 Visionの実装

Dockerコンテナで起動したJupyter Lab上でPhi-3 Visionの実装をします。
Jupyter Labのコードセルに次のコマンドを実行して、ライブラリをインポートします。
from PIL import Image
import requests
from transformers import AutoModelForCausalLM
from transformers import AutoProcessorPhi-3 Visionのモデルとトークナイザーを読み込みます。
model_id = "microsoft/Phi-3-vision-128k-instruct"
model = AutoModelForCausalLM.from_pretrained(
    model_id,
    device_map="cuda",
    trust_remote_code=True,
    torch_dtype="auto",
    _attn_implementation='flash_attention_2'
)

processor = AutoProcessor.from_pretrained(
model_id,
trust_remote_code=True
)microsoft/Phi-3-vision-128k-instruct : Phi-3 Visionのモデルタイプを指定します。
AutoModelForCausalLM.from_pretrained():モデルを読み込みます。
flash_attention_2:推論を高速化するFlash Attentionを指定しています。
pipeline() : テキスト生成タスクのためのTransformerのパイプラインを設定しています。
AutoProcessor.from_pretrained():画像処理のプロセッサーとトークナイザーを読み込みます。
| モデルID | パラメータサイズ | コンテキスト長 | GPUメモリ使用量 |
| microsoft/Phi-3-vision-128k-instruct | 42億パラメータ | 128kトークン | 8GB |
画像とテキストを入力して、テキストを生成する関数を定義します。
def textvision(messages, path_image):

    image = Image.open(path_image)

    prompt = processor.tokenizer.apply_chat_template(
        messages,
        tokenize=False,
        add_generation_prompt=True
    )

    inputs = processor(prompt, [image], return_tensors="pt").to("cuda:0")

    generate_ids = model.generate(
        **inputs,
        eos_token_id=processor.tokenizer.eos_token_id,
        max_new_tokens=256,
        do_sample=False,
    )

    generate_ids = generate_ids[:, inputs["input_ids"].shape[1] :]

    response = processor.batch_decode(
        generate_ids,
        skip_special_tokens=True,
        clean_up_tokenization_spaces=False
    )[0]

    resized_image = image.resize((int(image.width * 0.5), int(image.height * 0.5)))
    resized_image.show()
print(response)Image.open()
指定されたパスをもとに画像を開きます。
processor.tokenizer.apply_chat_template()
メッセージにチャットテンプレートを適用します。
processor(prompt, [image], return_tensors=”pt”).to(“cuda:0”)
テキストと画像をテンソル変換してProcessorに渡し、GPUに転送しています。
model.generate()
入力データをもとにトークンIDを生成します。
processor.batch_decode()
モデルが生成したトークンIDをテキストに変換します。
Phi-3 Visionで画像からテキストを生成

Phi-3 Visionを使って、画像の入力からテキストを生成してみます。
英語で画像説明
「指定した画像について説明してください。」というプロンプトを英語で実行してみます。
prompt_input = [
    {"role": "user", "content": "<|image_1|>\n Please describe this image."}
]

path_image = "testimage1.jpg"

textvision(prompt_input, path_image)[{“role”: “user”, “content”: “<|image_1|>\n Please describe this image.”}]
「Please describe this image」というプロンプトを入力しています。
path_image = “testimage1.jpg”
画像を指定しています。

Please describe this image.
————————————–
(翻訳)
この画像について説明してください。
The image features a cozy indoor setting with a wooden table at the center. On the table, there is a white cup of coffee with a heart-shaped foam on top, accompanied by a small potted plant. To the right of the cup, there is a plush toy of a cat with orange fur and white paws. The background shows a window with a view of a street scene, including a building with a red roof and a car parked on the street. The room is softly lit with warm lighting, creating a welcoming atmosphere.
————————————————————————–
(翻訳)
画像には、中央に木製のテーブルがある居心地の良い室内の様子が写っています。テーブルの上には、ハート型の泡が乗った白いコーヒーカップと、小さな鉢植えの植物があります。カップの右側には、オレンジ色の毛並みと白い足を持つ猫のぬいぐるみが置かれています。背景には、赤い屋根の建物や通りに駐車された車などが見える窓があります。部屋は暖かい照明でやわらかく照らされ、歓迎の雰囲気を醸し出しています。
日本語で画像説明
「この画像について説明してください。」というプロンプトを日本語で実行してみます。
prompt_input = [
    {"role": "user", "content": "<|image_1|>\n この画像について説明してください。"},
    {"role": "assistant", "content": "あなたは画像を日本語で回答するアシスタントです。"}
]

path_image = "testimage3.jpg"

textvision(prompt_input, path_image){“role”: “assistant”, “content”: “あなたは日本語で回答するアシスタントです”}
回答するモデルの役割(ロール)を指定しています。

Please describe this image.
————————————–
(翻訳)
この画像について説明してください。
この画像では、キャッシュレスターに準備されたキャッシュレスターのシーンが描かれています。キャッシュレスターの中で、キャッシュレスターのキャッシュレスターの中で、キャッシュレスターのキャッシュレスターの中で、キャッシュレスターのキャッシュレスターの中で、キャッシュレスターのキャッシュレスターの中で、キャッシュレスターのキャッシュレスターの中で、キャッシュレスターのキャッシュレスターの中で、キャッシュレスターのキャッシュレスターの中で、キャッシュレスターのキャッシュレスターの中で、キャッシュレスタ
日本語での回答は、完全に破綻しています。
英語で同じ内容を生成してみます。

Please describe this image.
————————————–
(翻訳)
この画像について説明してください。
The image features a cat dressed in a white chef’s hat and a white jacket with black buttons, sitting on a wooden cutting board in a kitchen setting. The cat has a playful expression and is looking directly at the camera. The kitchen is equipped with various cooking utensils such as pans, a rolling pin, and a pot, as well as a range hood and a stove. There are also shelves with jars and spices, and a tomato is visible on the counter.
————————————————————————–
(翻訳)
画像には、白いシェフ帽と黒いボタンの付いた白いジャケットを着た猫が、キッチンの木製のまな板の上に座っている様子が描かれています。猫は遊び心のある表情でカメラを見ています。キッチンには、フライパン、めん棒、鍋などのさまざまな調理器具や、レンジフードとストーブが備わっています。また、棚には瓶やスパイスが置かれており、カウンターにはトマトが見えます。
画像からテキストの読み取り(OCR)
「画像のテキストをOCRで抽出してください」というプロンプトを投げてみます。
prompt_input = [
    {"role": "user", "content": "<|image_1|>\n OCR the text of the image. Extract the text of the following fields and put it in a JSON format: \
    'Company', 'Name','Title','Phone', 'E-mail','URL','Adress'"}]

path_image = "testocr.jpg"

textvision(prompt_input, path_image)
OCR the text of the image. Extract the text of the following fields and put it in a JSON format:
‘Company’, ‘Name’,’Title’,’Phone’, ‘E-mail’,’URL’,’Adress'”
———————————————————————
(翻訳)
画像のテキストをOCRで抽出し、以下のフィールドのテキストを抽出してJSON形式にしてください:
‘会社名’, ‘名前’, ‘役職’, ‘電話番号’, ‘Eメール’, ‘URL’, ‘住所’
{
“Company”: “Cat Innovation Inc.”,
“Name”: “Scottish Foldman”,
“Title”: “Manager”,
“Phone”: “03-313-2800”,
“E-mail”: “f-scottish@catinnovation.co.jp”,
“URL”: “https://catinnovation.co.jp”,
“Address”: “3-48-1 Nekogaya, Shinjuku-ku, Tokyo 562-2800, Japan”
}
生成AI・LLMのコストでお困りなら
GPUのスペック不足で生成AIの開発が思うように進まないことはありませんか?
そんなときには、高性能なGPUをリーズナブルな価格で使えるGPUクラウドサービスがおすすめです!
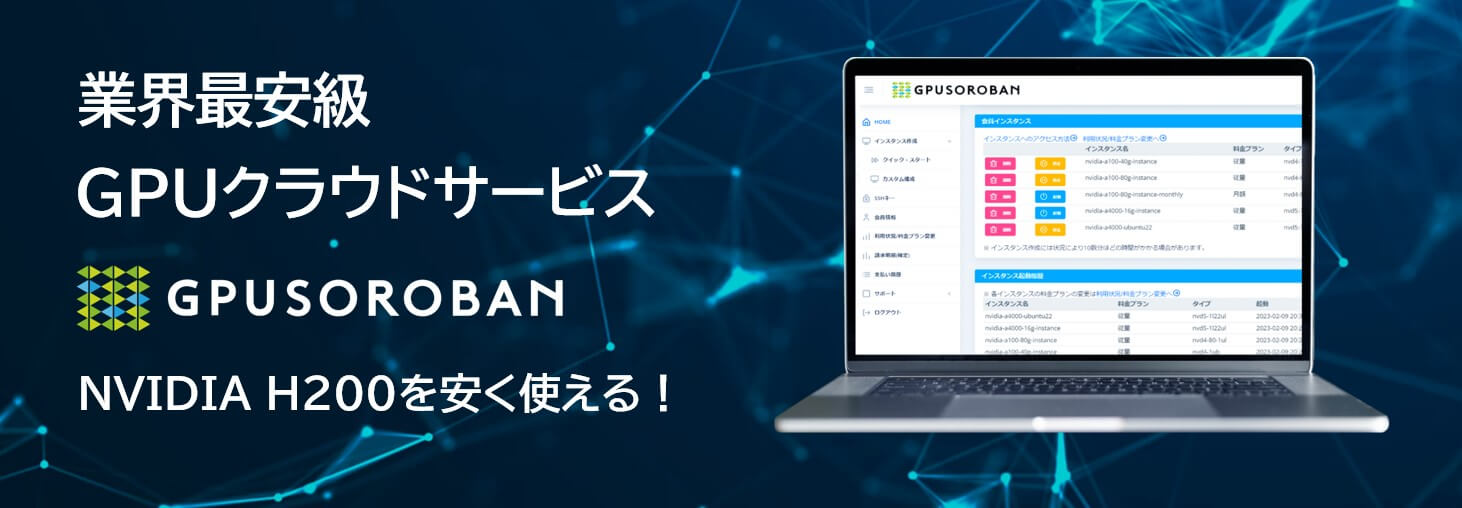
GPUSOROBANは、高性能GPU「NVIDIA H200」を業界最安級の料金で使用することができます。
NVIDIA H200は、生成AI・LLMの計算にかかる時間を大幅に短縮することが可能です。
クラウドで使えるため、大規模な設備投資の必要がなく、煩雑なサーバー管理からも解放されます。

